Ittle Dew 2 devblog: Shaders for beginners
2014-05-17
Hello everyone! Today we will learn how to make lava, and also how to make water.
"But this is blasphemy!" you say. "Only gods may do such things." While that is a fact, sometimes you have to take the good with the evil.
Lava
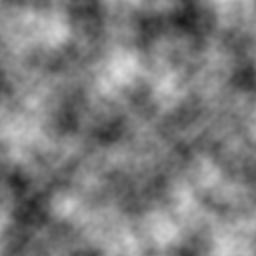
We start off examining the basic ingredients of molten lava: A greyscale noise and a gradient map. Something like this perhaps:

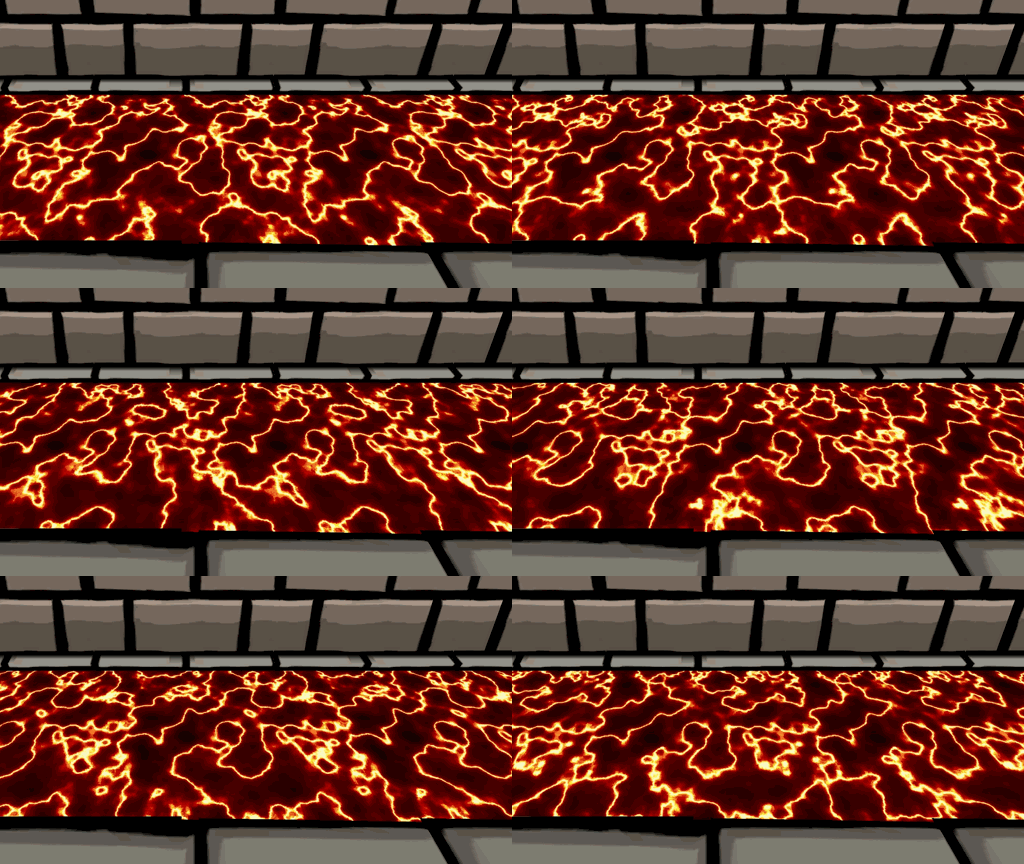
 Now if we just applied that map to the noise we would get a nice boring static lava-like thing, which wouldn't do at all. It needs to move. Also I don't know if you've ever seen lava, but it's thick like the slime of a slug and moves faster in the center of a stream than it does close to the edges. We can solve this problem by having the above noise move in a certain direction with a certain speed, and having a different noise texture move in the same direction with a different speed (and don't cheat by using the same noise texture; you'll get artifacts and then cry when they happen to overlap). We then blend these two textures based on how close to the center they are (preferably using another texture to determine blend the factor). Now we have a noise that moves at different rates, and this is what we want to apply the gradient map to. With a really simple blend texture, it will look a little something like this:

Water
Making water is a bit more complicated deal, but it starts with two parts. A big old plane mesh with lots of subdivisions, for waves; and everything else that's going to be affected by these waves. The waves are fairly straightforward; just move them up and down in a vertex program based on some sine function. However you will want to make sure whatever position-based arguments to pass are based on the world-position of the vertices, because we will have to recreate this function in the wave-affected objects later. For convenience, let's say our wave function is
sin(P.x + t*2π)
where
P is our vertex' world position and
t is the time offset of the waves. We apply this function to the vertices of the plane mesh and we obviously get waves moving in the x-direction only. That's fine for now, but the advanced reader would want to do something about that.
Anyway, now that we have waves, we switch to the other objects. We want to create foam or something at the intersection with the wave mesh. To do this, we first use the same function to calculate the current wave height in their vertex programs, then use this to create a gradient from 1 at the wave height, to 0 at a certain height above the wave height. For extra fancy, apply a noise to this gradient, using the gradient value as a threshold. Maybe move the noise around for a more dynamic look.
Sadly we are not finished yet. It may look okay at this point, but we also want whatever it is to look a bit wet after the waves have rolled by, and also for this wetness to slowly creep down towards the water. We can't simply use the wave function for this because that will make the wetness move in a sine wave, which looks terrible. We need a function that moves up with the wave function, but goes down linearly, until it goes up with the next wave, and so on. How to do that? Well it's pretty simple, just make a sawtooth function with the same period as the wave function, offset it in height and phase so the top coincides with the top of the wave function and tweak the slope to your liking. Using the above wave function, our "wetness" function could look something like this:
1 - frac((P.x + t) - 0.25) * x
where
x is the slope multiplier value.
Then just take the maximum of these two functions to get the current height of the wetness. Use the resulting value to shade the fragments below darker.
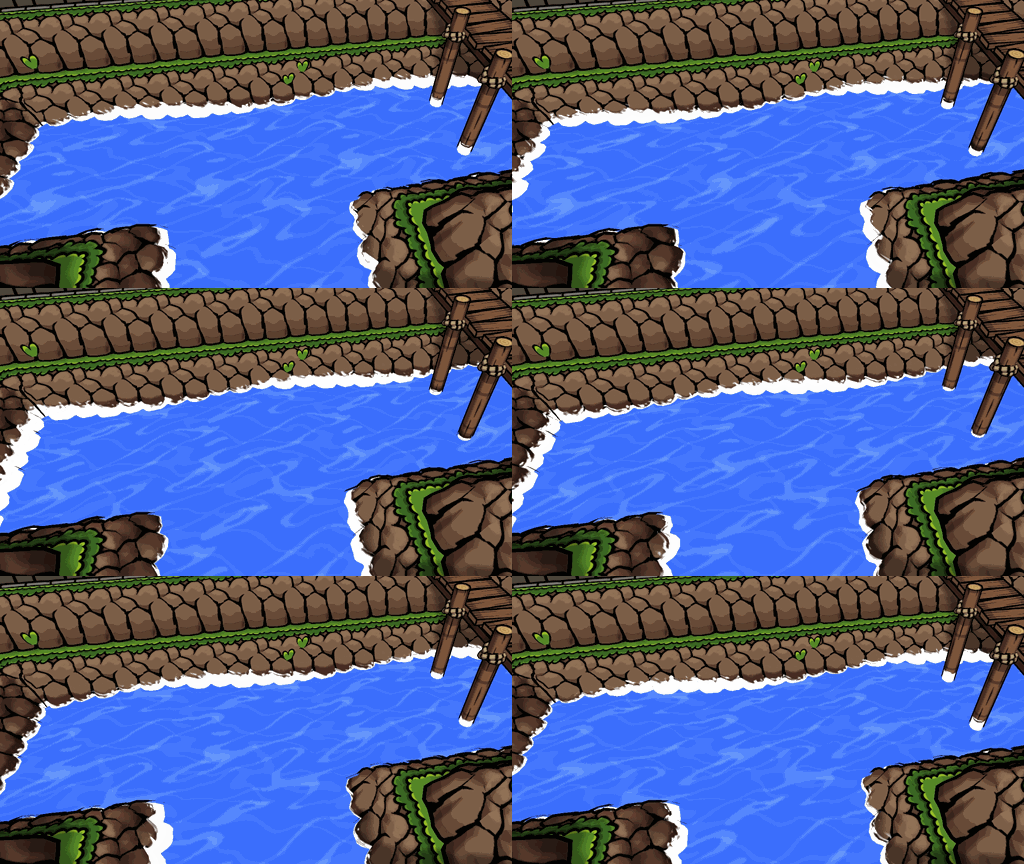
Go all that? You should now be able to make something like this:
The Earth is counting on you!! Good luck!


 Now if we just applied that map to the noise we would get a nice boring static lava-like thing, which wouldn't do at all. It needs to move. Also I don't know if you've ever seen lava, but it's thick like the slime of a slug and moves faster in the center of a stream than it does close to the edges. We can solve this problem by having the above noise move in a certain direction with a certain speed, and having a different noise texture move in the same direction with a different speed (and don't cheat by using the same noise texture; you'll get artifacts and then cry when they happen to overlap). We then blend these two textures based on how close to the center they are (preferably using another texture to determine blend the factor). Now we have a noise that moves at different rates, and this is what we want to apply the gradient map to. With a really simple blend texture, it will look a little something like this:
